My preferred Arch Linux install reference - Oryx Pro Nvidia Version
Here is a quick reference to my preffered Arch Linux setup, only this time on an Oryx Pro 4 running a GeForce GTX 1070 Mobile with the latest drivers.
Again, if you like what you see I assume you know what you are doing and if it breaks you get to keep the pieces.
This will be similar to my LattePanda install but with a single disk layout. Now with the disclaimers out of the way lets get started.
cgdisk /dev/sda
Create one new partition
- First sector: default
- Size: 2G
- Type: ef00
- Name: boot
Accept defaults for the rest
On the free space after create another partition.
- Name: salty
Accept defaults for the rest.
You can pick whatever label you like, just remember to replace later instances. If collisions are a concern just pick a different label between machines or use or go the UUID route.
                                    cgdisk 1.0.10

                                 Disk Drive: /dev/sda
                             Size: 1953525168, 931.5 GiB

Part. #     Size        Partition Type            Partition Name
----------------------------------------------------------------
            1007.0 KiB  free space
   1        2.0 GiB     EFI system partition      boot
   2        929.5 GiB   Linux filesystem          salty
            711.5 KiB   free space
Note: I did have to reboot after partitioning as I had an older Debian 12 setup in order to make use of the partion labels. If you run into any strangeness give that a go first before continuing.
Anymore I always encrypt as a default. If you decide to use a keyfile method I leave that as an exercise to the user, refer to the wiki for that.
cryptsetup luksFormat /dev/disk/by-partlabel/salty
WARNING!
========
This will overwrite data on /dev/disk/by-partlabel/salty irrevocably.

Are you sure? (Type 'yes' in capital letters): YES
Enter passphrase for /dev/disk/by-partlabel/salty:
Verify passphrase:
cryptsetup luksFormat /dev/disk/by-partlabel/salty
Open sesame.
cryptsetup luksOpen /dev/disk/by-partlabel/salty decrypt0
Create the volume group. I'd recommend picking unique names when installing on multiple machines here especially if you are in a pinch and expect to drive this in another machine with a similar setup. That will avoid any name collision weirdness.
vgcreate oryxpro0 /dev/mapper/decrypt0
Physical volume "/dev/mapper/decrypt0" successfully created.
Volume group "oryxpro0" successfully created
Prepare for swap and root. Size swap to your liking. I expect to do some really silly things and want to keep the backwards cow at bay for as long as possible.
lvcreate -C y -L 32G oryxpro0 -n swap
lvcreate -l +100%FREE oryxpro0 -n root
Check our work:
pvdisplay -C && vgdisplay -C && lvdisplay -C
 /dev/mapper/decrypt0 oryxpro0 lvm2 a--  929.49g    0
  VG       #PV #LV #SN Attr   VSize   VFree
  oryxpro0   1   2   0 wz--n- 929.49g    0
  LV   VG       Attr       LSize   Pool Origin Data%  Meta%  Move Log Cpy%Sync Convert
  root oryxpro0 -wi-a----- 897.49g
  swap oryxpro0 -wc-a-----  32.00g
Format all the things
mkfs.fat -F32 /dev/disk/by-partlabel/boot
mkfs.ext4 /dev/mapper/oryxpro0-root
mkswap /dev/mapper/oryxpro0-swap
swapon /dev/mapper/oryxpro0-swap
Mount for strapping
mount /dev/mapper/oryxpro0-root /mnt
mkdir /mnt/boot
mount /dev/disk/by-partlabel/boot /mnt/boot
pacstrap time! This round I use the latest stable instead of the lts kernel
pacstrap -K /mnt base linux linux-firmware
Generate a proper fstab and chroot
genfstab -U /mnt >> /mnt/etc/fstab
arch-chroot /mnt
Install the microcode for your processor, this will be amd-ucode on AMD processors respectively.
pacman -S intel-ucode
Set timezone. I'll leave setting up ntp automatic updates as an exercise for the user.
ln -sf /usr/share/zoneinfo/America/Los_Angeles /etc/localtime
hwclock --systohc
Install nano and edit /etc/locale.gen
Uncomment en_US.UTF-8 UTF-8
For simplified Chinese uncomment zh_CN.UTF-8 UTF-8
If you end up doing that I expect you know what fonts you need there.
locale-gen
Create a locale.conf
echo 'LANG=en_US.UTF-8' > /etc/locale.conf
Set your preffered console font.
echo 'FONT=Lat2-Terminus16' > /etc/vconsole.conf
Install the nvidia driver, at the time of writing this is 5.50 and the 1070 isn't legacy yet.
pacman -S nvidia
Update /etc/mkinitcpio.conf lines for modules and hooks. Note the removal of kms from HOOKS
MODULES=(nvidia nvidia_modeset nvidia_uvm nvidia_drm)
HOOKS=(base udev autodetect modconf keyboard keymap consolefont block encrypt lvm2 filesystems fsck)
Run mkinitcpio after making sure lvm2 is installed.
pacman -S lvm2
mkinitcpio -p linux
Set the root password.
passwd
Install NetworkManager.
pacman -S networkmanager
Install efibootmgr.
pacman -S efibootmgr
Configure our EFISTUB. Note that while I show resume here as an example all attempts to suspend on this machine. I haven't hand a stable resume for awhile on this particular piece of hardware.
efibootmgr --create --disk /dev/sda --part 1 --label "Arch Linux" --loader /vmlinuz-linux --unicode \
"root=/dev/mapper/oryxpro0-root rw cryptdevice=PARTLABEL=salty:decrypt0:allow-discards resume=/dev/mapper/oryxpro0-swap initrd=/intel-ucode.img initrd=/initramfs-linux.img quiet"
Lets exit the chroot, unmount, reboot, and hold onto your butts.
exit
umount -R /mnt
reboot
Enter your credentials to get back to root and lets finish our initial setup.
Start NetworkManager and enable at boot.
systemctl enable NetworkManager
systemctl start NetworkManager
Install openssh, enable and run. Note that you must set PermitRootLogin yes in /etc/ssh/sshd_config
if you are using this to finish up the install without pubkey auth like I am.
pacman -S openssh
systemctl enable sshd
systemctl start sshd
At this point you probably notice archlinux is the current hostname as we haven't set that yet. We can
use hostnamectl to fix that now.
hostnamectl hostname oryxpro
If you have an open shell, exit and reconnect.
[root@oryxpro ~]#
Much better.
Install gnome and add our intial user.
pacman -S gnome
useradd -m -G wheel graywind
passwd graywind
If you want to play 32-bit games or have a stable steam setup, uncomment multilib in /etc/pacman.conf
and sync with pacman -Syu. You can also just install steam and select this option from the prompt. While
we are at it lets make sure nvidia-utils and nvidia-settings are both installed. I sure hope that control
panel doesn't get deprecated very soon.
pacman -S lib32-nvidia-utils nvidia-utils nvidia-settings
Setup sudo
pacman -S sudo
Uncomment %wheel line in /etc/sudoers
Start and enable gdm (after confirming that there are no errors, a separate ssh session works great for this.
systemctl start gdm
systemctl enable gdm
As I am working on this laptop with the lid closed pretty much at all times pretty much as a workstation with external displays, we need to disable all references there in /etc/systemd/logind.conf. The below might be a bit overkill but I store this machine in a difficult spot to get to, and even reboot and enter the password blind if the external display is not responding. I never want this machine to suspend for my specific use case.
#HandlePowerKey=poweroff
#HandlePowerKeyLongPress=ignore
#HandleRebootKey=reboot
#HandleRebootKeyLongPress=poweroff
HandleSuspendKey=ignore
HandleSuspendKeyLongPress=ignore
#HandleHibernateKey=hibernate
#HandleHibernateKeyLongPress=ignore
HandleLidSwitch=ignore
HandleLidSwitchExternalPower=ignore
HandleLidSwitchDocked=ignore
#PowerKeyIgnoreInhibited=no
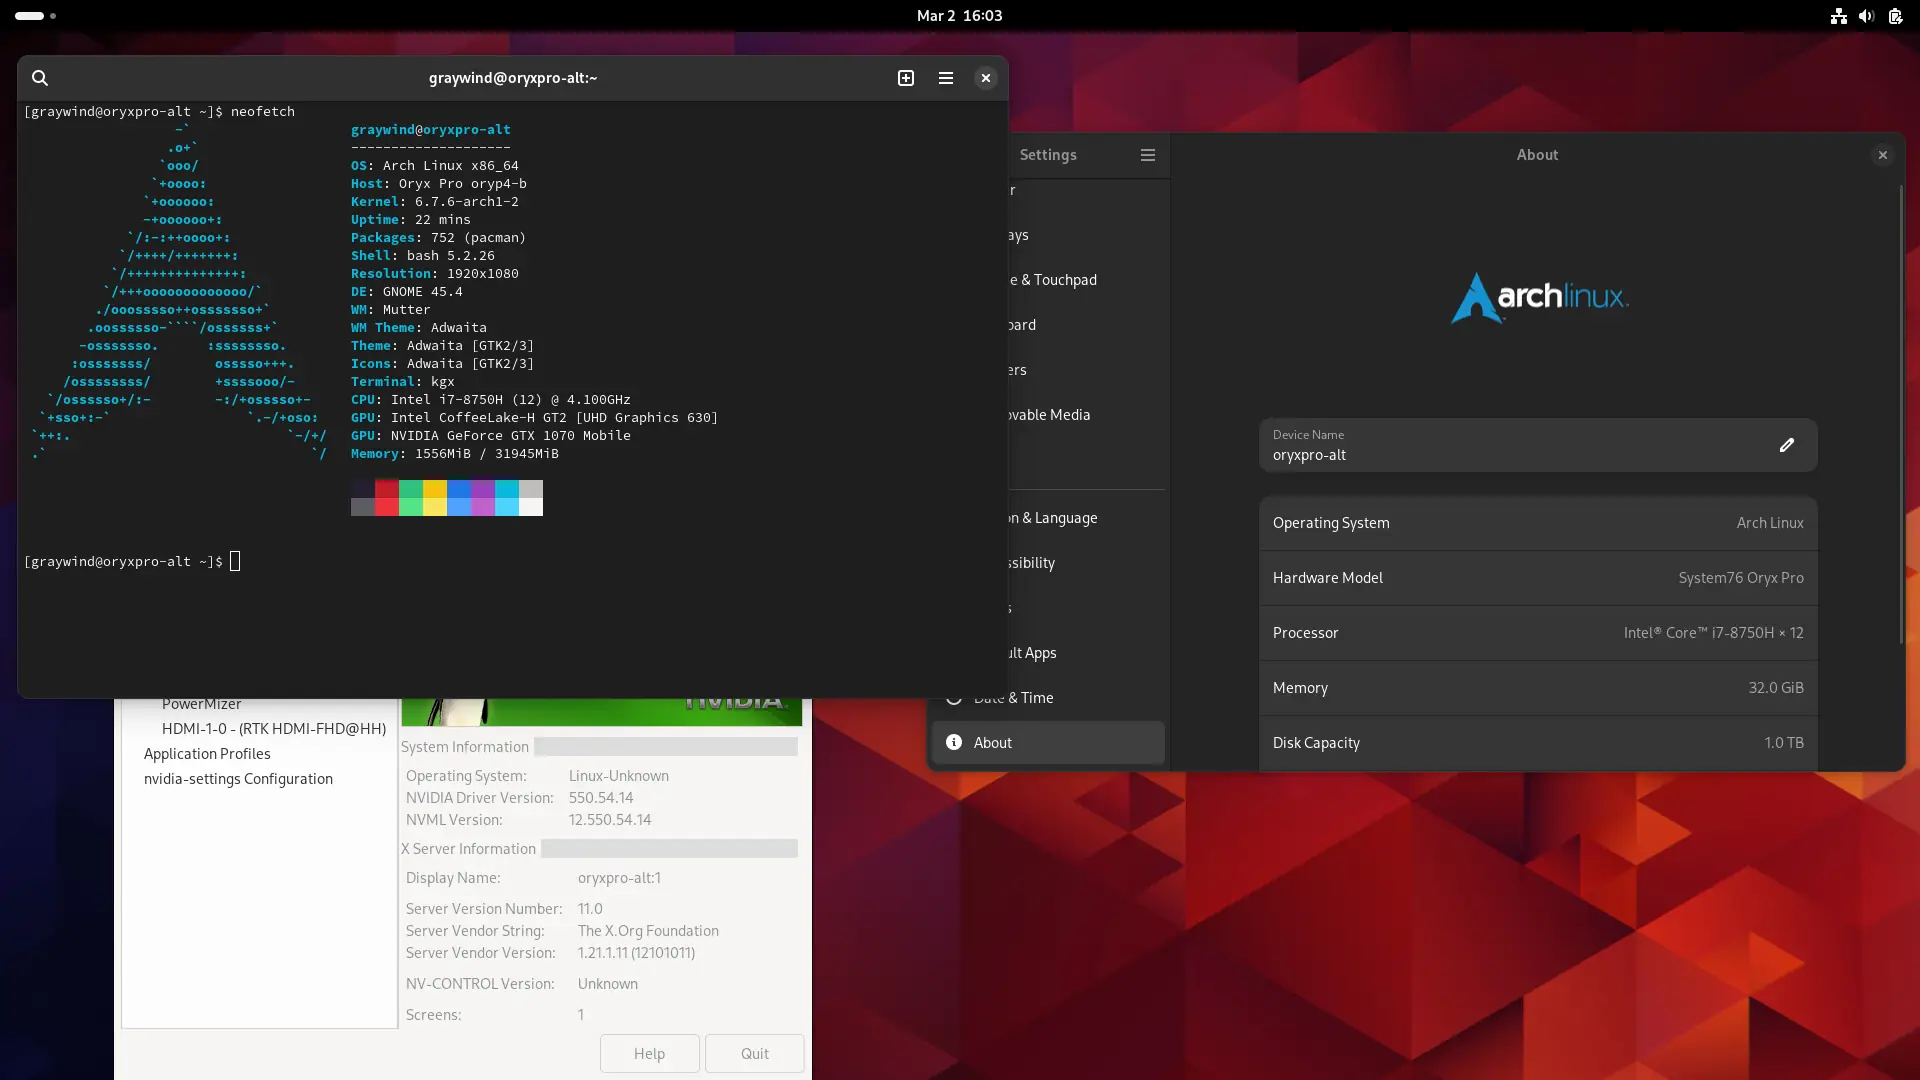
Success! Note the hostname is slightly different as this was done on a second machine.